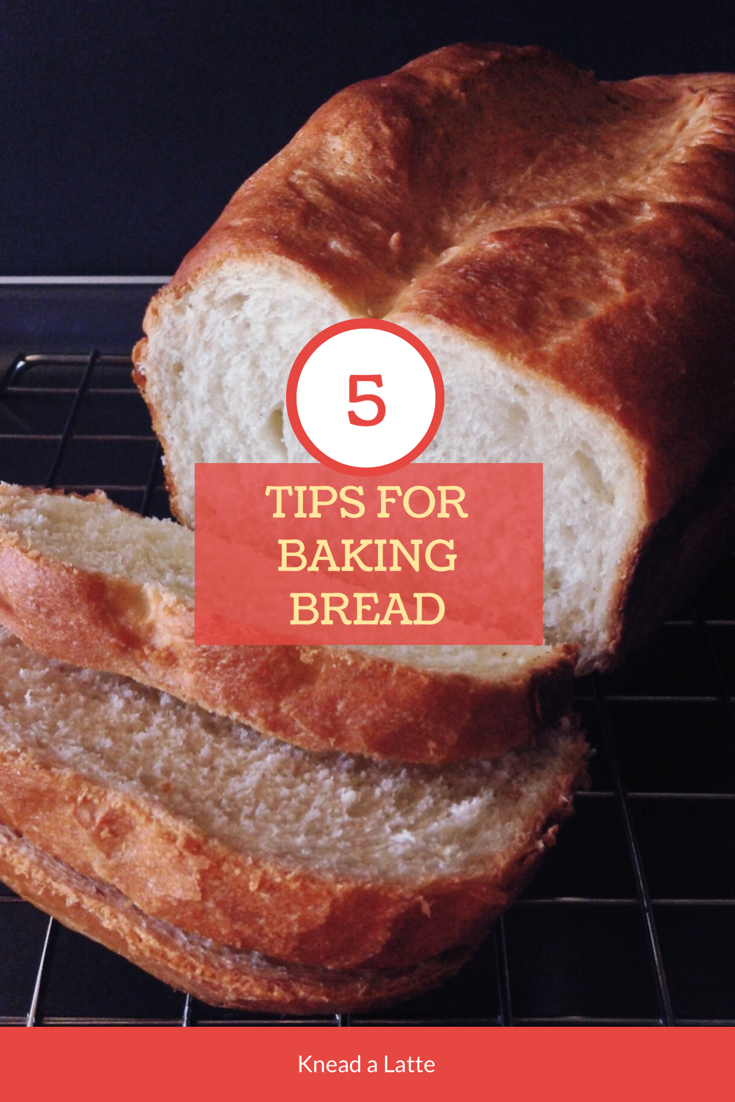
5 Tips For Baking Bread
I started baking bread when I started my first blog (ruby red apron) in 2012. And I haven’t stopped since then. So I have been baking bread for about 7 years. 7? Wow! It’s been that long?
Anyway, I don’t consider myself an expert at bread baking but I’ve learned a few things along the way…
Here are my 5 tips.
Knead dough for 15-20 minutes.
I remember the very first time I tried to make bread and my first time working with yeast. I didn’t know ANYTHING about kneading. The recipe probably said to knead the dough and nothing else. So I kneaded for about a minute and thought that was it. What? I said I knew nothing! And then I wondered why it didn’t rise. Ummm…
So yeah. You need to knead the dough for more than a minute. More like 15-20 minutes. I usually knead the dough for 20 minutes. Maybe there’s times when the dough needs more or less kneading but 20 minutes works for me.
Practice. Try out a lot of different recipes.
Practice makes perfect, right?
Practice by trying out different bread recipes. I’ve discovered some recipes that are better than others. And eventually, as you practice more and more you start to see how dough should feel and what techniques work best for you. So this one is a no-brainer. Any skill you want to improve always gets better with practice. So make lots of bread!
Don’t let it rise too long on the second rise.
I used to think that the more I let it rise the second time, the bigger the bread would turn out. Oh my lordy…
Nope. Don’t do it.
The second rise is also called proofing. Therefore, don’t overproof your dough.
Let it rise the normal amount, which is 45 minutes to an hour. You don’t want to overproof your dough because the longer you let it rise the second time the more sour it will taste and there’s the risk of it collapsing once it’s placed in the oven or even as you attempt to score it before baking it. So don’t do it.
Use instant yeast.
With instant yeast you don’t have to wait and proof it with water. Instant yeast goes into the flour mixture. It saves you time and makes life so much easier! Maybe I’m exaggerating? But yeah, if you can find instant yeast, use that.
Bake it until it browns really browned.
I use to make the mistake of taking the loaf out of the oven as soon as I thought it was burning or something. But no, don’t panic! Follow the recipe instructions. Bake it as long as it instructs you to. Sometimes it will come out rock hard and very browned but as it cools, it softens… Usually. I mean, you don’t really want your bread to burn but you also don’t want a pale loaf of bread that’s soggy at the bottom. Ugh. I hope this makes sense.
Again, with practice and testing out different recipes or practicing repeatedly with your favorite recipe you will see why I have listed these tips. So the most important tip is to practice, practice, practice. Don’t worry if you mess up. You can always make bread pudding or bread crumbs.
I just thought of another one.
Don’t slice the freshly baked bread until it’s cooled. I usually wait 30 minutes or more before I slice it.
That was not a bread baking tip… but, yeah, I just thought you needed to know.
Now go bake some bread!
Please subscribe to my blog on top of the page!
Follow me on Instagram!
Follow me on my personal Instagram!
Follow my Facebook page.

Comments
Post a Comment